LANCER: The GM's Guide To Building Encounters
You're going to need to do this a lot as a GM. Might as well codify it.
>//COMMUNICATIONS ESTABLISHED
>//OPEN PROTOCOL
Here’s more or less everything you need to know about building a tactical combat encounter. Note that this is not about building entire missions, as that’s a separate topic. We’ll assume you already have an enemy faction and overall mission prepared for the sake of this article. We’ll also assume you have access to (and have read the GM section of) the full version of the Lancer Core Book.
Here’s a rundown of the steps:
Step 0: Get Inspired
Step 1: What’s the Objective?
Step 2: Get a Map Going
Step 3: Opposing Force
Step 4: Environment Mechanics (Optional)
Step 5: Writing the Narrative
Step 6: Iterate Until Round 3
Step 0: Get Inspired
The most important part of making a cool encounter is having something cool to draw from. Look at maps online, think back to your favourite videogame levels, or a moment from a book or movie that you loved. If you want to make something, there is very little that can stop you. Who cares if you somehow rip off an Ace Combat tunnel run? Your players will either never get the reference, or appreciate it. Very few will go “That’s so stupid, you’re a terrible GM for making that reference.” And if they do, the door is always open for them to GTFO.
Additionally, it can help to reference official and third-party module encounters for inspiration on sitreps, enemy compositions, and balancing. Examples include No Room For A Wallflower, Operation Solstice Rain, Dustgrave, Pierce the Heavens and Sleeping Above A Stolen Crown.

Step 1: What’s The Objective?
Primarily, the objective of the encounter will often dictate more or less everything else. This can be a straight death match, or any of the sitreps from the Lancer Core Book or the various third party content creators in the community. It’s recommended that you minimize the amount of pure deathmatches in your games.
Death matches in Lancer are actually not supposed to be as common as you might think. If every encounter is a death match, you’ll all quickly get bored. So switch it up! Give the players an Escort job, force them to run a Gauntlet, or make them Control an area. You can also make a more esoteric objective like securing a VIP from the enemy faction, racing to the other side of the map, or having some obvious explosives to blow up. No Room For a Wallflower, as well as the other official Lancer modules, can give you some inspiration on how to do these unusual objectives.
Any narrative justification for what you’re doing can come later. You’re also never beholden to your original mission structure until you’ve already played it.
Step 2: Get a Map Going
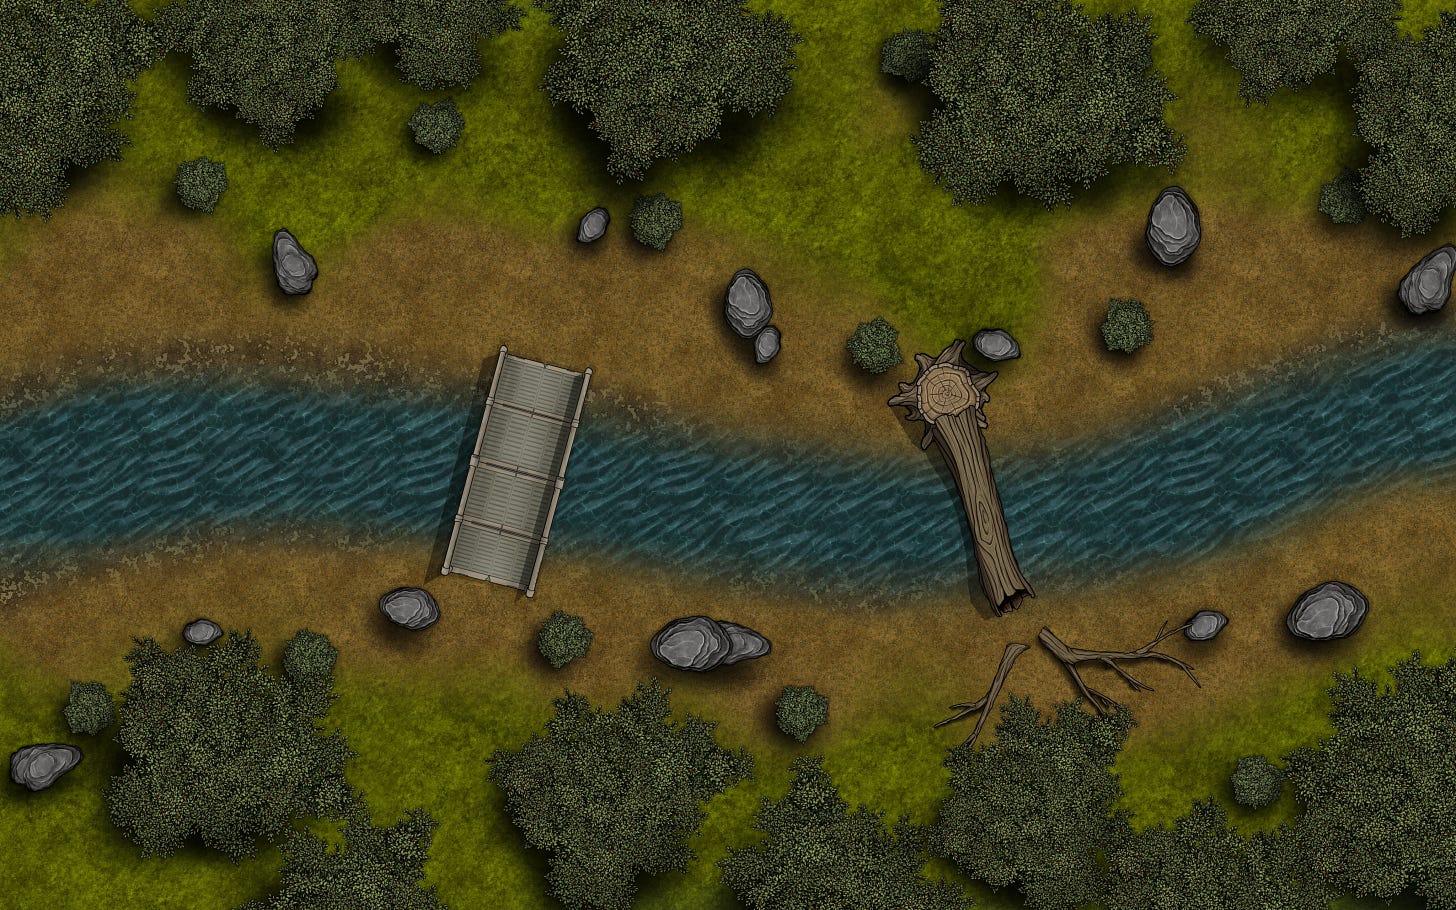
If you used a map as inspiration for Step 0, you’re already most of the way there. Pilot NET, the official Lancer Discord, also has plenty of lovely community made maps that you can peruse at your leisure. Again, narrative comes later.
There are a million and a half tips on making good tactical maps. Unfortunately, condensing those down is another article entirely. That said, consider your sitrep when making your map. Make sightlines and cover so that your sitrep, and some of your players, have a chance to shine.

Hey! Thanks for reading this far. Want to get Lancer content, GM advice, player advice, stories, and insights into the journey and wisdom of a professional GM? You can get these articles straight to your inbox for free!
You can also share this post with your friends, real, parasocial, and paracausal!
Step 3: Opposing Force
Now comes the fun part: Making baddies for your players to mess up.
First thing I want you to do is throw the core book balancing rules out the window for the most part. They're a little more swingy than what the community has agreed on for balancing. They also don’t factor in action economy when they imply 1 Ultra alone will keep 4 players at bay. Spoiler: It won’t.
Here is a breakdown of broader guidelines for building your OpFor (Opposing Force) for an average difficulty encounter:
Total enemy structure (including Reinforcements) should be between 1.5-2x your player count. E.g. You have 4 players, OpFor should have between 6 and 8 total structure.
Total enemy activation (i.e. turn) count on the field should be around 1.5x your player count. This does not factor in Reinforcements.
Limit yourself to up to 4 unique NPC classes, including bosses. If you know you can handle 5, do so but not too often.
Strikers and Artillery should make up 50% of your enemy composition at most.
Don’t overdo it on reaction heavy comps. You will forget.
Keep most enemies to 1 optional max. Save 2 for very special cases. It cuts down on overhead.

Handling Scale
Additionally, one thing to keep in mind is that as your player count scales, your OpFor needs to scale as well. The intuitive answer for this is to just add more enemies. Well, in this case the intuitive answer is only about 50% of the actual answer.
The other 50% is to use templates. Templates give enemies additional flavour and mechanics beyond their class and optionals. The most common templates used for the sake of adding activations or structure are the Elite, Veteran, Commander, and Ultra templates. Here’s a breakdown of what they do:
Elite: Adds +1 structure, +1 activation, +1 class optional.
Veteran: Adds +1 structure, +1-3 extra flavourful and mechanically interesting options depending on enemy tier.
Commander: Adds +1 structure, optionals that allow the Commander to influence and enhance their allies.
Ultra: Adds +3 structure, +1-2 activations (if you’re at 5 players, it gets +2), +1-3 powerful Ultra optionals. Use for bosses.
You can even combine templates! You can have any combination that doesn’t involve Elite and Ultra being on the same NPC.
It’s good to do a mix of adding templates to enemies and adding more enemies when building out encounters, and especially when you’re building for more than one party size.
Build for 3
One thing that I like to do as a habit from writing a campaign supplement is to automatically consider a variable number of players. 3-5 is generally reasonable. 2 and 6+ both require very special considerations that I have very little experience working with, if at all. That’s a future article.
To do this, I come up with a core composition for the OpFor made for 3 players. This way, if I need to expand to 4 or 5, it’s much easier to scale up than to scale down from 4. Be sure to follow the guidelines mentioned above, keeping your DPR (Strikers and Artillery) class count below 50%, and generally keeping to the structure and activation guidelines.
Of course, if you want to crank up the difficulty and make your players sweat for a boss fight, dial up the structure count.
Check Your Tiers
Lancer NPCs progress just like the PCs do. Lancer play is divided into Tiers, with each tier giving the NPCs better stats and more damage output. Tier 1 is LL0-4, Tier 2 is LL5-8, and Tier 3 is LL9-12.
One thing to keep in mind is that at the levels in between Tiers, it’s not like there’s an instant transition. It’s a good idea to have some NPCs from Both adjacent Tiers in your transitional levels (4-5 and 8-9). In other words, if you’re LL4 and 5, you will probably encounter both Tier 1 and Tier 2 enemies.
Step 4: Environmental Mechanics (Optional)
If it’s your first time building an encounter, you can fairly safely skip this step. Otherwise: Now it’s time to shirk the NPCs for a moment, and consider the other problems the players have to deal with in addition to enemies and character trauma: the environment!

Lancer has plenty of rules for Dangerous Terrain (Lancer, p.62) and Environmental Effects (Lancer, pp.278-279) that you can use if you want to spice things up, but even things like Difficult Terrain (Lancer, p.62) in a high-mobility sitrep like Escort (Lancer, p.269) or Extraction (Lancer, p.270) can make a difference. Look at your map and place some hazards in ways that you think will make combat more interesting. Force alternate routes, create kill zones (harm zones? Few things in Lancer kill outright) that characters can force each other into, and change the way that players might engage with the map overall.
You can also look to existing modules for inspiration on additional effects to have in your game. No need to reinvent the wheel!
Step 5: Writing the Narrative
Okay, now it’s time to figure out why your players are here. This is more up to you, but there are some rough narrative guidelines each sitrep has by nature. The more important thing is how you string them together.

Say you have an Escort, Holdout, and Control lined up. The best way to figure out this narrative is to start from the end and work backwards. If you know how the mission ends, know what their Control objective is, who the final enemy of the mission is, you can figure out how they got to that objective. And then how they got to that point. And to that point.
Continuing with our example, let’s say the players are fighting the Void’s Maw pirates, the primary enemy faction of Wrath of the Kraken (yes, shameless self-plug but that’s beside the point). What’s something the players can control or secure? A resource cache maybe? Let’s work with that. The Void’s Maw are interested in securing weapons, so maybe they found a cache of weapons that the PCs need. Why they need this cache isn’t important right now. Where is this cache located? Underground? That could be cool. How do they get to this cache then?
Maybe they need to guard a drill that will burrow down to where they found the cache through planetary scanning. And then the escort is getting that drill to the objective zone. Easy! Flesh that out narratively a little bit, and you’ll have a decent 3-encounter mission.
Of course finding that first idea for the final mission can be annoying, so I may release a set of d20 scenario tables for each sitrep in the future depending on if folks will find that useful.
In short: work backwards from the end, and you’ll find it’s a lot easier than working forward. This is true for overarching plots as well, by the way!
But I Already Have A Narrative!
If you already have some narrative idea for the mission in mind, you can absolutely work with the Narrative first following this working backwards approach as well, and then work on encounters. Give it a shot before you knock it.
Hey! Thanks for reading this far. Want to get Lancer content, GM advice, player advice, stories, and insights into the journey and wisdom of a professional GM? You can get these articles straight to your inbox for free!
You can also share this post with your friends, real, parasocial, and paracausal!
Step 6: Iterate Until Round 3
Of course, once you’re finished, you should give your mission or encounter a once over. Chances are you’ll want to change something. That’s fine! No harm in that. Sometimes you might even realize you need to change something once shots have been fired and you’re in mech combat.
“What? I thought you couldn't change encounters mid combat!”
Oh, you sweet summer GM child.
Real talk, there is a reason Mike Tyson said “Everyone has a plan until they get punched in the mouth.” “No plan ever survives contact with the enemy,” comes to mind. Why should you resign yourself to letting an encounter remain as is once you call for the first player activation?
There is a good chance you will have miscalculated something, especially as a new GM. That is not your fault! It’s just the reality of building your own stuff.
Maybe you accidentally fielded Assaults, Archers, Sentinels, and a Sniper and didn’t realize that was way too much damage. Maybe you didn’t consider the interaction an Ultra Pirate Ronin would have with critical hits. Or maybe your players are slaughtering everything, even beyond bad structure rolls. That’s all fine.
The good news is there are a few things you can do, even mid combat.
If your players nuke a boss that was supposed to last a little longer, there’s nothing you can really do. But if they’re gunning through the rank and file enemies, blasting through your objective, and you’re running out of Reinforcements?
Keep a Reserve force that’s a duplicate of the main force. I’m not joking. Toss these in as Reinforcements, not too many at a time, perhaps 1 or 2 rank and file enemies or 1 templated enemy at a time. Just enough to keep up the pressure if things are looking too easy.
Alternatively, it could be a narrative thing you want to change. That’s okay too. The players won’t know until they’ve reached the point you change, so why worry about changing it? So long as you act like you planned it all along, or managed to whip it up on the fly, you’re golden.
Conclusion
I hope this has been a useful guide to building encounters in Lancer. Let me know if this advice has been useful to you in the comments, and by all means share your scenarios!
>//COMMUNICATIONS DISCONNECTED
>//GOOD LUCK, LANCER


Big fan of the guide, much appreciated.
Keep up the good work and I'll be keeping an eye out for them.